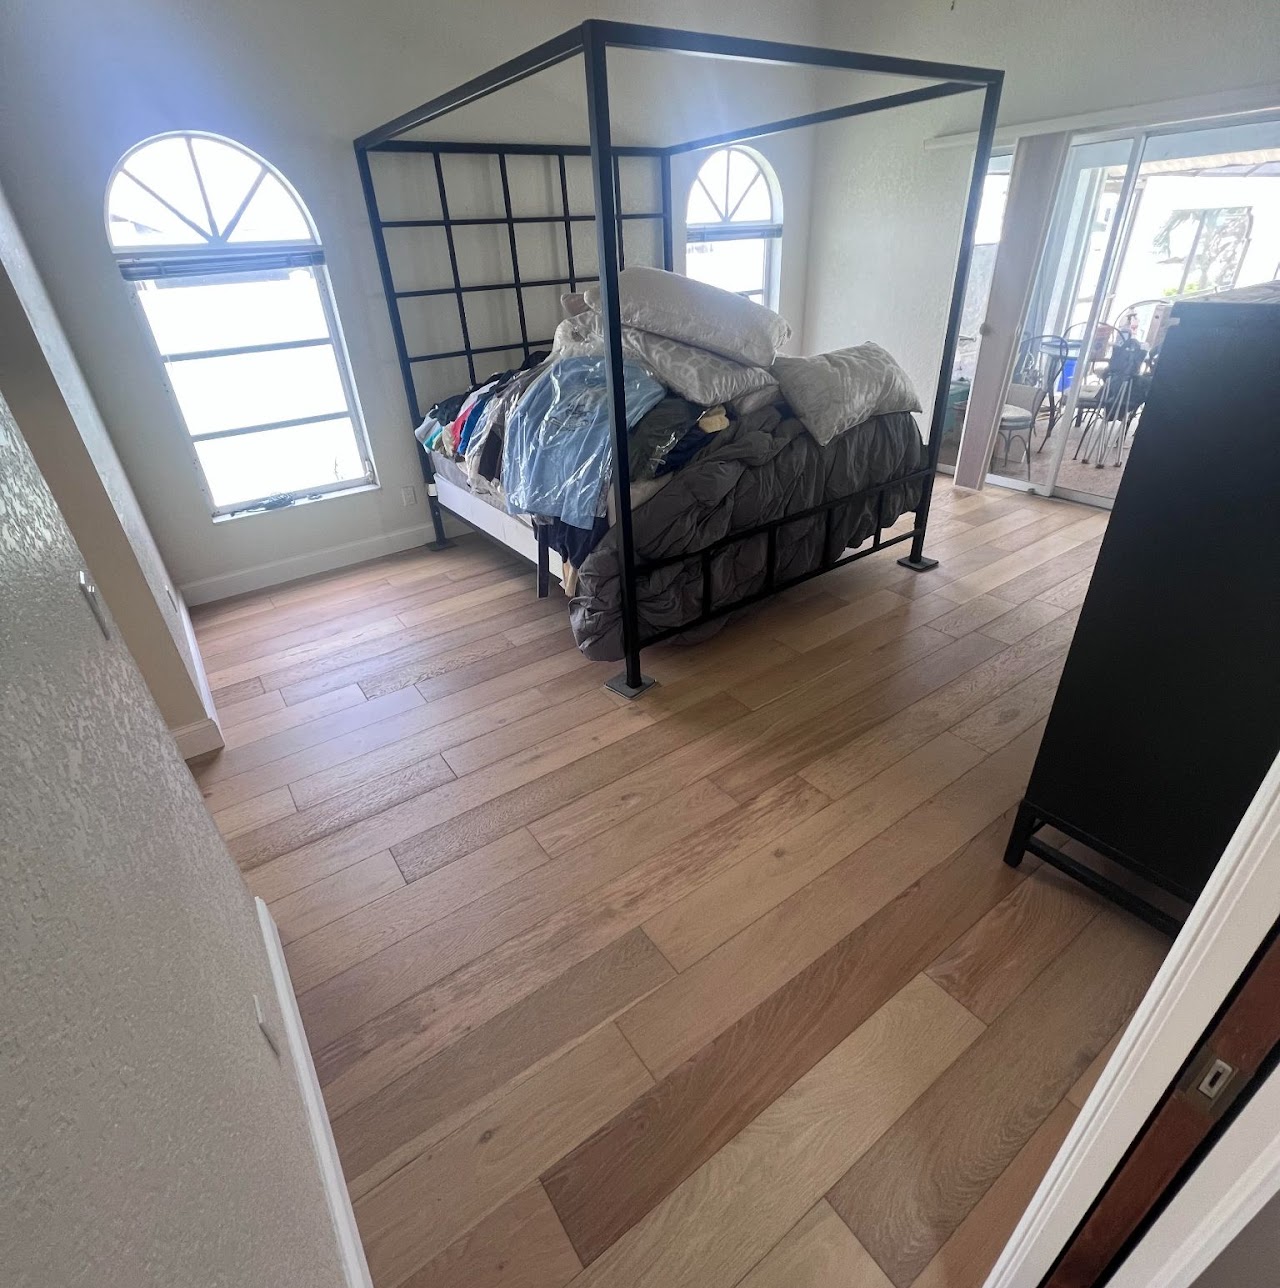
Engineered hardwood flooring installation is a meticulous process that combines craftsmanship with modern engineering to create a beautiful and durable floor. Engineered hardwood is composed of multiple layers of wood, with a top layer of real hardwood veneer bonded to a stable core. This construction allows for greater resistance to moisture and temperature fluctuations compared to solid hardwood, making it suitable for a wide range of environments.
Before installation begins, proper preparation of the subfloor is essential. The subfloor must be clean, dry, and level to ensure a stable foundation for the engineered hardwood. Any unevenness or imperfections in the subfloor may need to be addressed before installation can proceed.
Once the subfloor is prepared, the installation process begins with the layout of the hardwood planks. Careful planning is required to ensure a balanced and visually pleasing arrangement, taking into account factors such as room size, natural light, and traffic patterns.
Engineered hardwood can be installed using several methods, including nail-down, glue-down, or floating installation. The method chosen will depend on factors such as the type of subfloor, the condition of the space, and the manufacturer's recommendations.
Nail-down installation involves securing the hardwood planks to the subfloor using nails or staples. This method provides a sturdy and permanent installation, suitable for both plywood and wooden subfloors.
Glue-down installation involves adhering the hardwood planks directly to the subfloor using a specialized flooring adhesive. This method is ideal for concrete subfloors or areas where moisture is a concern, as it creates a strong and durable bond.
Floating installation is a versatile method that involves attaching the hardwood planks to each other rather than to the subfloor. This method is suitable for a variety of subfloor types and allows for greater flexibility in installation.
Regardless of the installation method chosen, attention to detail is crucial to achieving a professional finish. This includes ensuring tight seams between planks, maintaining consistent spacing around the perimeter of the room, and carefully cutting planks to fit around obstacles and corners.
Once the hardwood planks are installed, the finishing touches can be applied. This may include installing baseboards or trim pieces to cover any gaps between the flooring and the walls, as well as applying a protective finish to enhance the durability and appearance of the wood.
After installation is complete, it's important to allow sufficient time for the hardwood to acclimate to the environment before moving furniture back into the room. This typically involves waiting at least 24-48 hours to allow the wood to adjust to the temperature and humidity levels of its new surroundings.
With VRMMM Flooring, you're not just getting a floor – you're getting a masterpiece. Our skilled professionals will guide you through every step of the installation process, from planning the layout to putting the finishing touches on your new hardwood floor.
 Engineered hardwood flooring installation is a meticulous process that combines craftsmanship with modern engineering to create a beautiful and durable floor. Engineered hardwood is composed of multiple layers of wood, with a top layer of real hardwood veneer bonded to a stable core. This construction allows for greater resistance to moisture and temperature fluctuations compared to solid hardwood, making it suitable for a wide range of environments.